Gutter Installation: Our process
The whole purpose of maintaining or
installing a working gutter system around the home is to collect and divert rainwater away from your foundation. If water perpetually accumulates around the base of your house this can cause long-term issues including foundational/structure problems or flooding in the basement or crawl space. Suffice to say, keeping an adequate gutter system working properly is a much more inexpensive way to protect the investment of your home than potentially spending thousands or tens of thousands of dollars down the road on more serious repairs.
Hiring an experienced gutter professional or roofing contractor to install or repair your gutters is the simplest way to get your project done in a timely and efficient manner. That being said, it is possible to do the work yourself. For a full install there are a few tools and supplies you will definitely need to have:
Combination of end caps
Inside and outside corners
Downspout connections
45 degree elbows
Strapping
Slip Joints
Downspouts and Gutter Sections
The easiest way to make sure that you have everything for your project is to just buy more than enough of everything and just return what you don’t need once the job is completed.
Using an angle grinder to cut your pieces to length is the best way to ensure nice clean lines. You will then install your gutter end caps, either left or right, on the ends of the cut pieces. Just add a bead of sealant and slide on. A crimping tool is our recommendation to accomplish this but using gutter screws or rivets is fine as well.
To install downspout connections, flip upside down and spin it upright to lock into place with your gutter pieces. Then add lots of sealant and attach with screws or rivets. All that being said, we prefer using downspout inserts. These can be placed anywhere along the length of the gutter and are faster to install and work just as well.
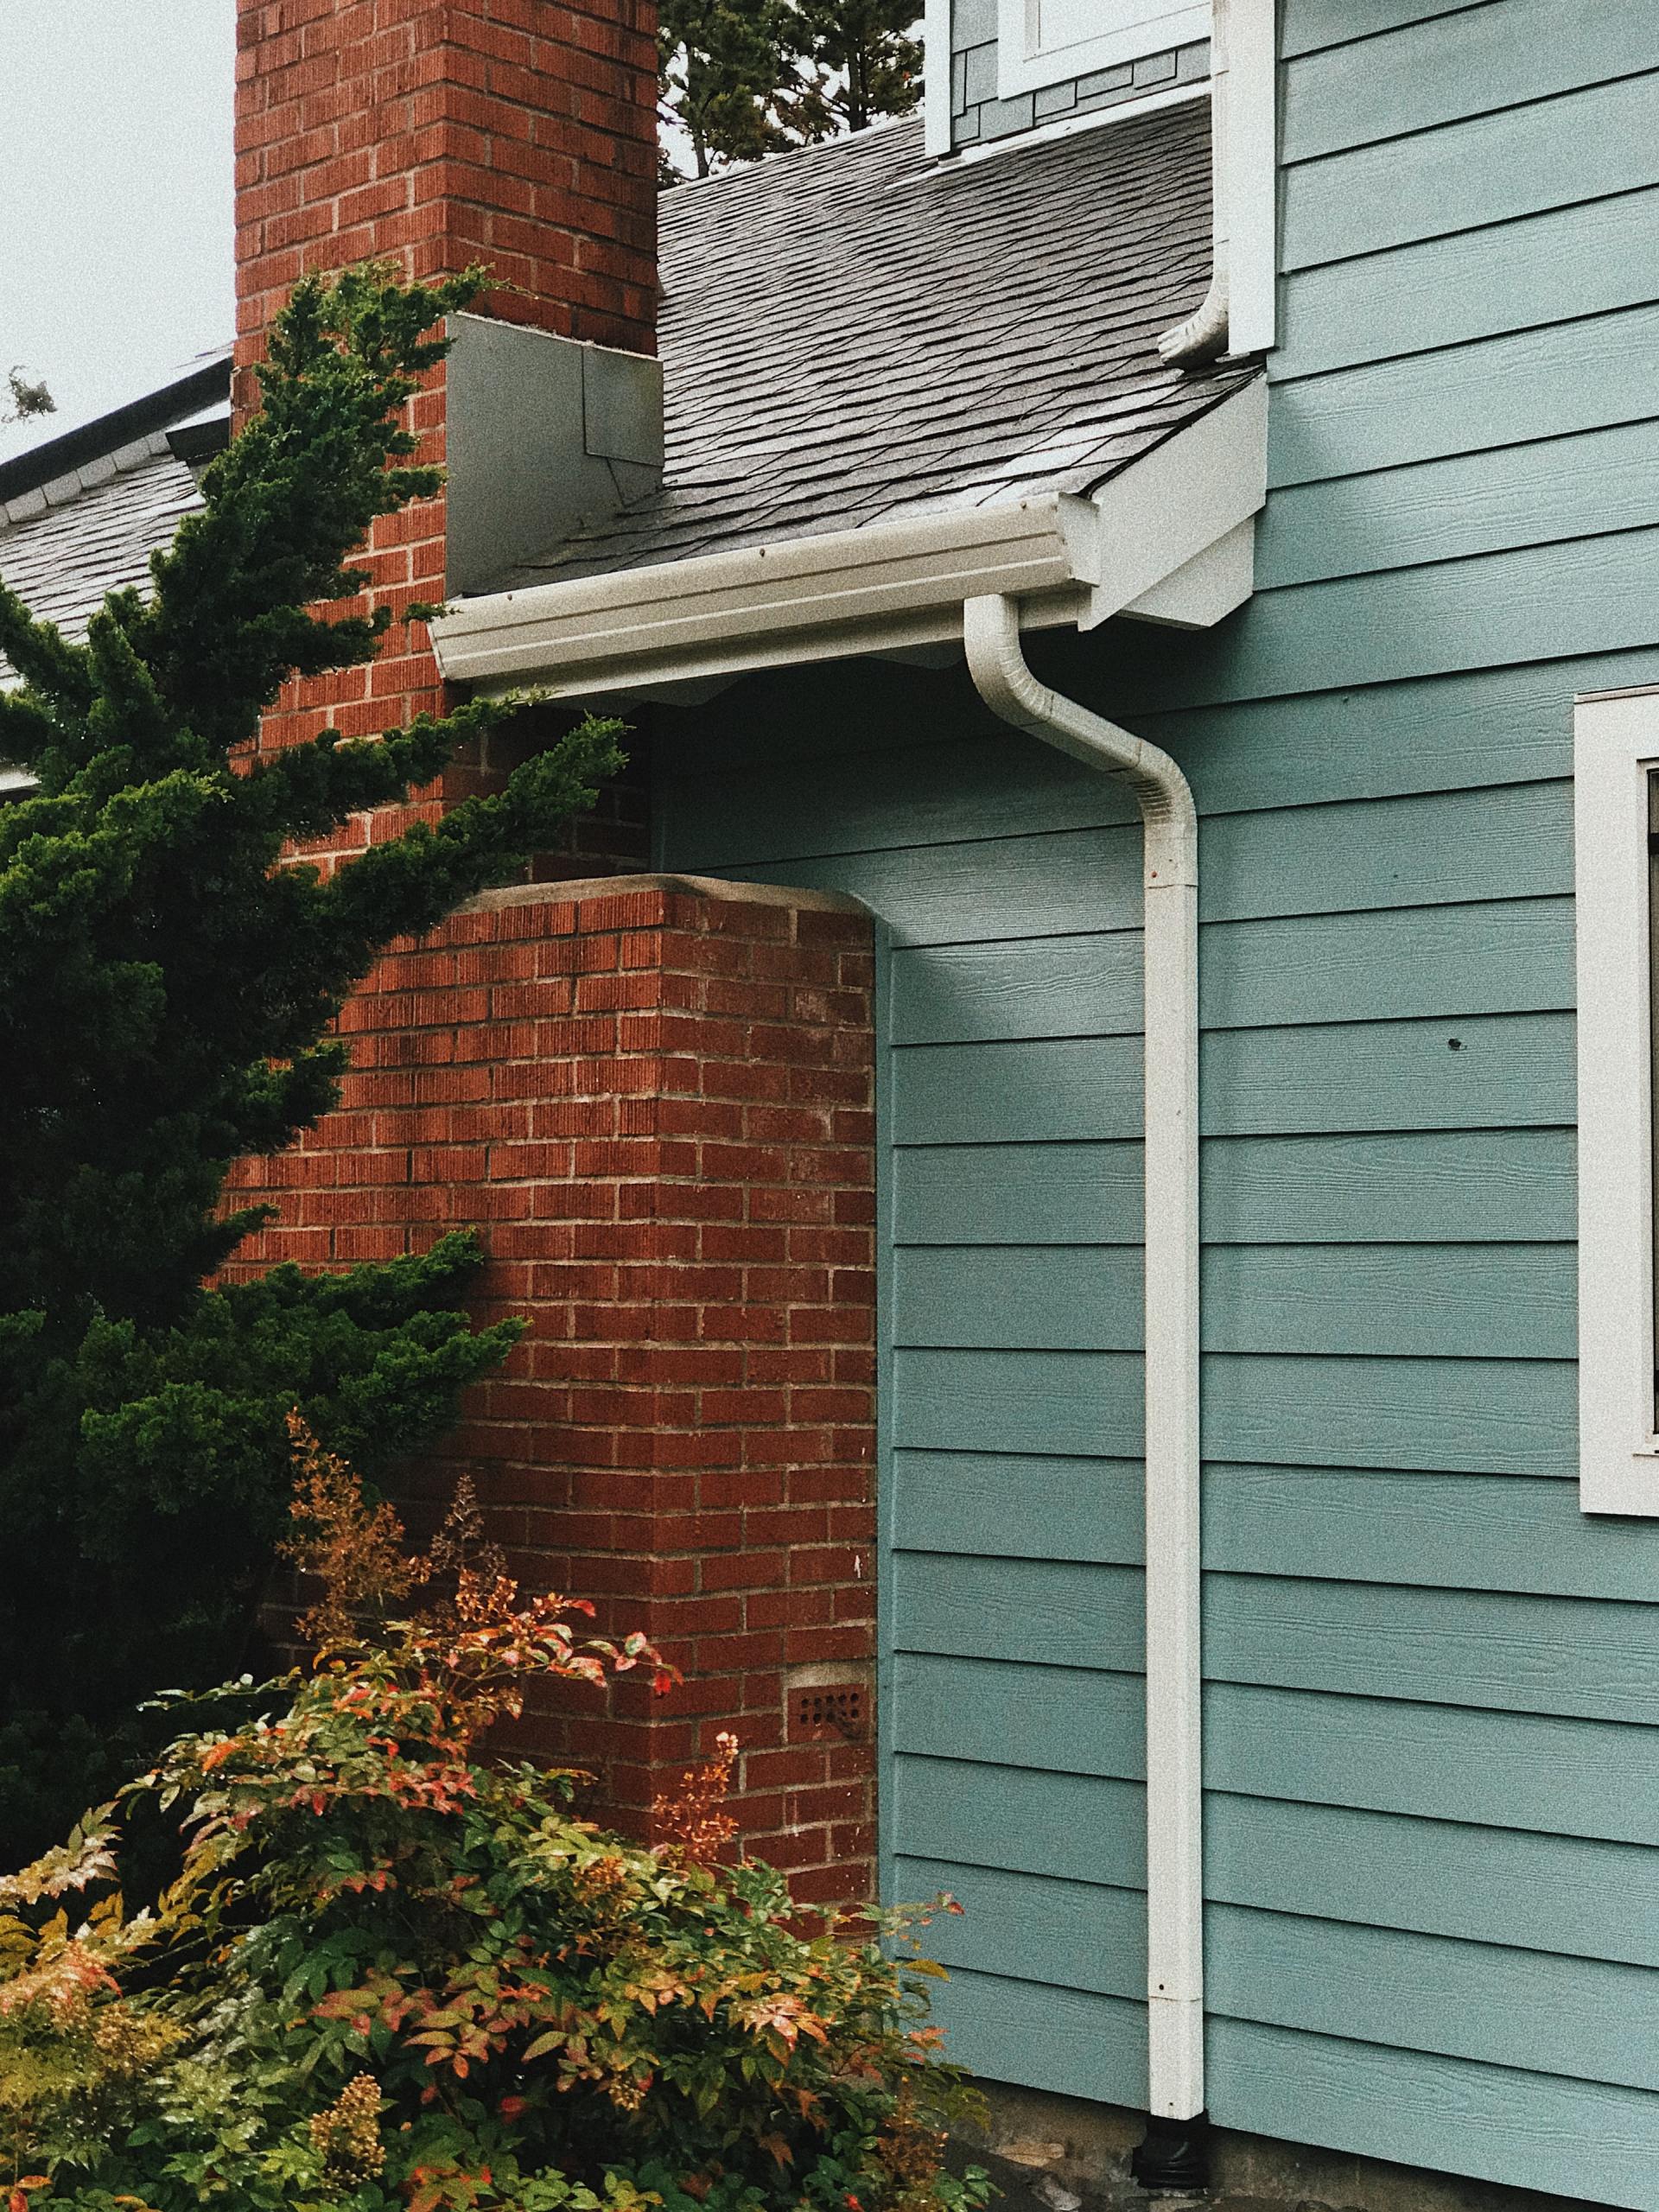
Once you have your gutter ready to hang, we at
Salisbury Roofing would strongly recommend attaching the hangers on the ground before the actual hanging process. Make sure the gutter isn’t hung too high! Use a level to extend the roof out a little further, and the front of the gutter on the high side should start just below that level and slope towards the downspout from there. You can hang a nail and use a string level and chalk line to ensure proper slope. You can also just use a four-foot level all the way down.
You will always want your gutter to shed in the direction of the downspout. A good rule of thumb is to have a ½ inch drop for every 10 ft of gutter length.
To secure the gutter to the fascia of your home, first slide the gutter hangers in place to line up with the rafter tails of the house. Screw them down and test the function with a hose to ensure there are no leaks.
Finally, you will want to install your corner downspout(s). You will use a combination of elbows to bring the downspout back towards the exterior of the home and then secure a length of that with strapping. At this point you can opt to install a rain barrel collection system, or just make sure the water is being diverted from the home.